nopCommerce Getting Started
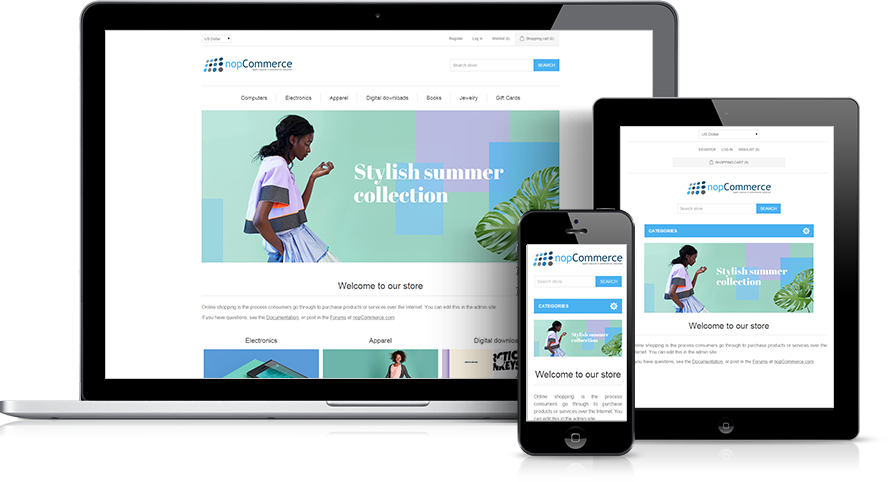
nopCommerce 基于 .NET 技术的 100% 开源的企业级电子商务系统,它集成了 1,500+ 插件,主题,语言包。它满足中小企业以及大型企业的电商场景,支持多供应商和多商店功能(B2B和B2C)。
If you have installed Websoft9 nopCommerce, the following steps is for your quick start
Preparation
- Get the Internet IP of your Server on Cloud
- Check your Inbound of Security Group Rule of Cloud Console to ensure the TCP:80 is allowed
- Get default username and password of nopCommerce
- Complete Five steps for Domain if you want to use Domain for nopCommerce
nopCommerce Initialization
Steps for you
-
本地浏览器访问:http://域名 或 http://服务器公网IP 进入安装向导
-
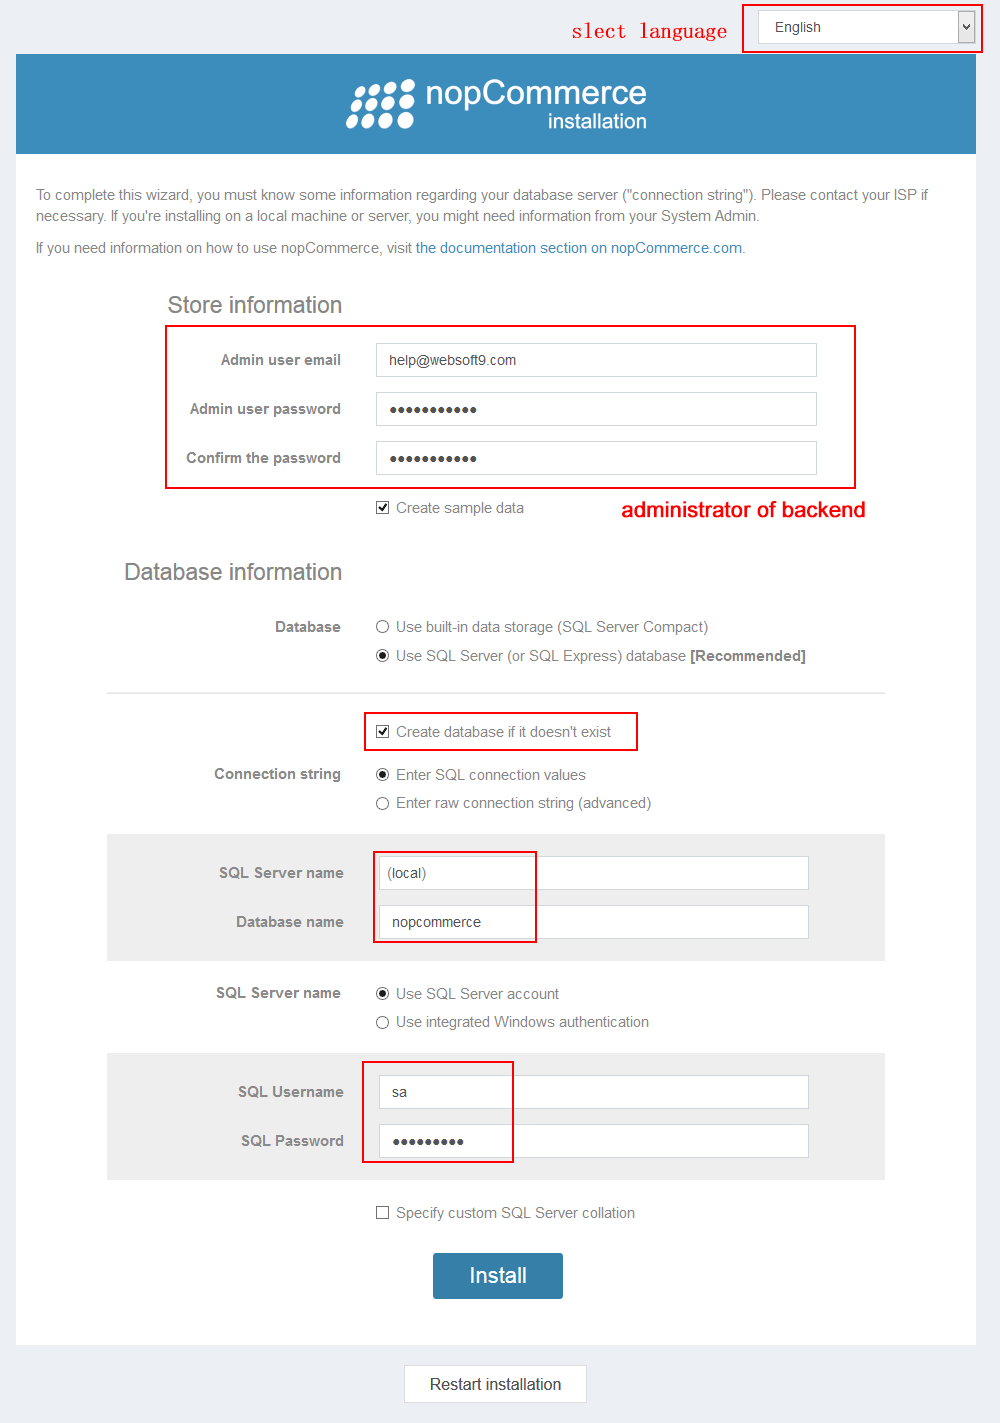
选择语言,设置管理员账号信息, 填写数据库信息(默认账号密码是:sa/websoft9!)
-
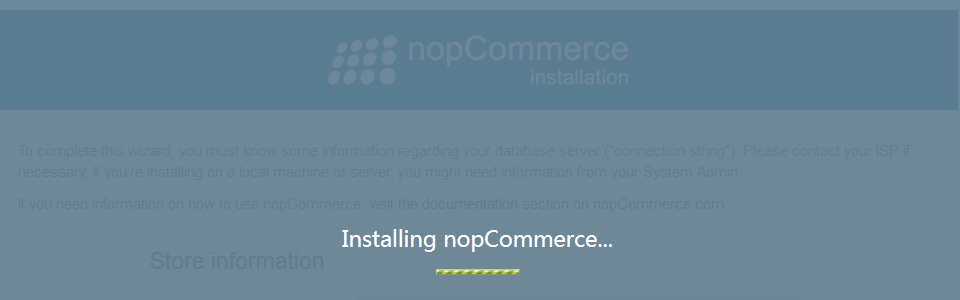
点击安装, 进入安装进程
-
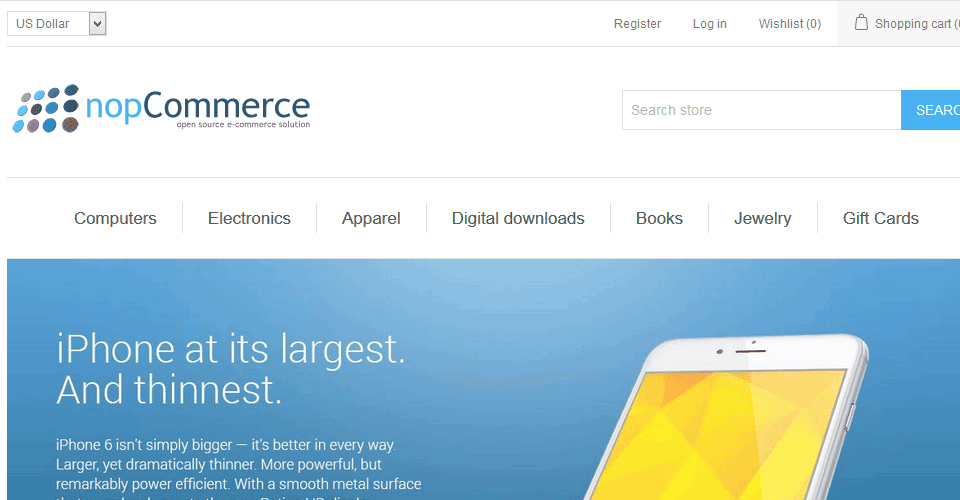
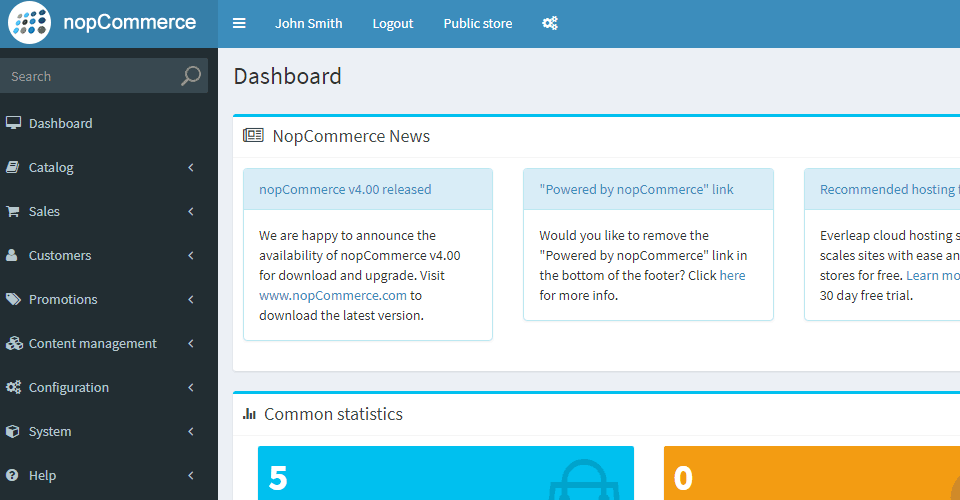
安装成功后,您会看到如下界面
-
访问后台地址,开始管理 NopCommerce
More useful Jenkins guide, please refer to Jenkins Documentation
Having trouble?
Below is for you to solve problem, and you can contact Websoft9 Support or refer to Troubleshoot + FAQ to get more.
nopCommerce QuickStart
下面以 使用 NopCommerce 构建在线商城 作为一个任务,帮助用户快速入门:
nopCommerce Setup
SQLServer 数据管理
开启SQLServer的远程访问
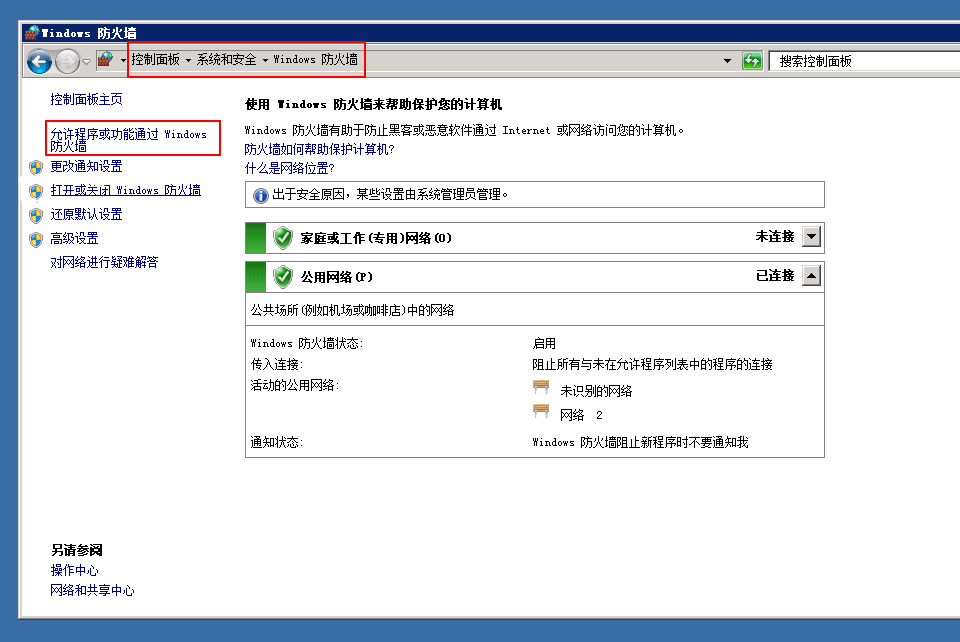
本镜像默认完成了SQLServer远程访问的配置,但需要立即使用远程连接,还需要完成如下两个步骤:
- 在Windows服务器防火墙设置中开启远程访问。控制面板->系统和安全->Windows防火墙->打开或关闭Windows防火墙
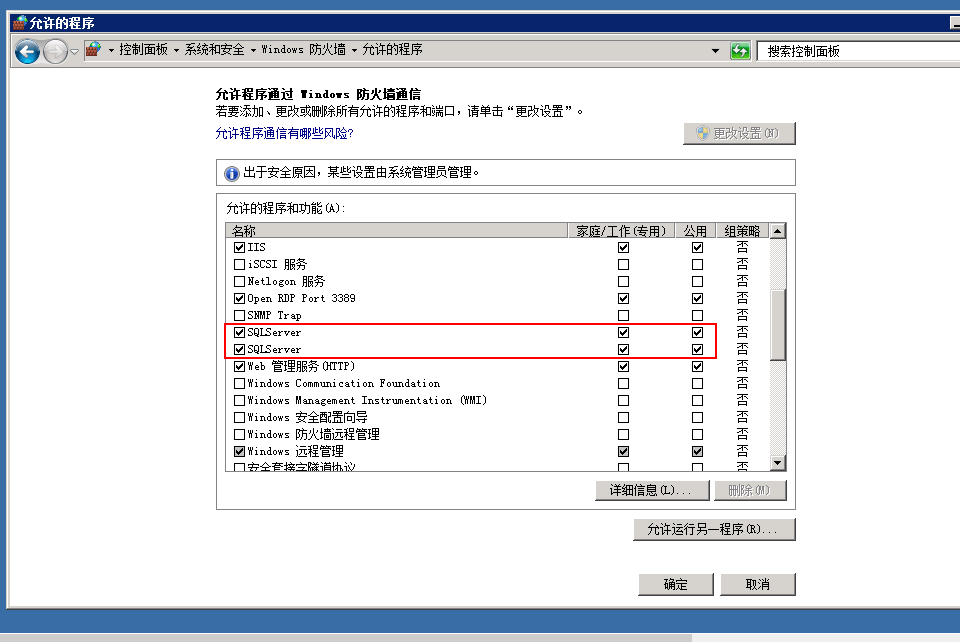
- 在云控制台中,开启服务器安全组的1433端口,即可远程访问。
域名绑定
参考 :配置域名
SSL/HTTPS
参考 :配置HTTPS
设置伪静态
参考 :设置伪静态
Reference sheet
The below items and General parameter sheet is maybe useful for you manage nopCommerce
通过运行docker ps,可以查看到 NopCommerce 运行时所有的 Container:
CONTAINER ID IMAGE COMMAND CREATED STATUS PORTS NAMES
Path
Port
| Port | Use | Necessity |
|---|---|---|
| 80 | 通过 HTTP 访问 NopCommerce | 必要 |
| 443 | 通过 HTTPS 访问 NopCommerce | 可选 |
URL
NopCommerce 后台地址: http://URL/Admin